Step 1 add Syncthing repo to apt sources
Syncthing isn’t available to install using the default repo. So the first step is adding syncthing repo to our apt sources so we can install it on our computer. We need to open up a terminal and run the following command.
echo "deb https://apt.syncthing.net/ syncthing stable" | sudo tee /etc/apt/sources.list.d/syncthing.list

Step 2 Installing curl
We must ensure we have curl installed to install the syncthing PGP key. All we need to do is the following command.
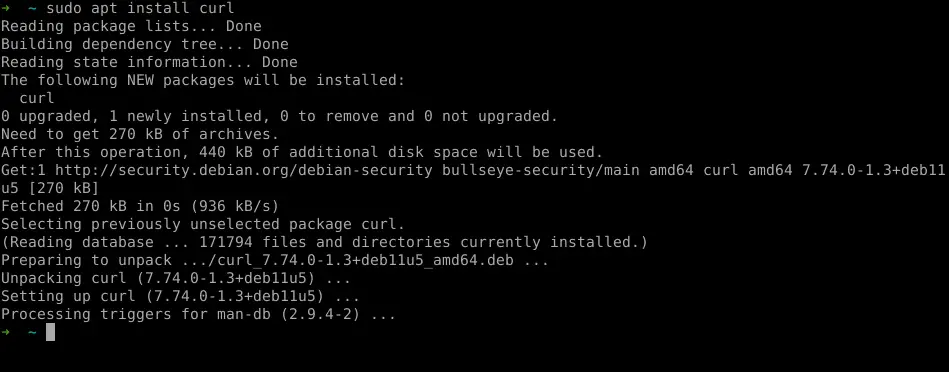
sudo apt install curl
If it is already installed, you will get this message

If you need to install it, your screen will look like this one.
Step 3 – Add syncthing’s PGP Keys
The next step we need to do Is add the synching repo PGP key to our apt keys. Without this, apt will not trust synching repo and will not install syncthing.
curl -s https://syncthing.net/release-key.txt | sudo apt-key add -
You should see the following if you added it correctly.

Step 4 – Update apt’s database
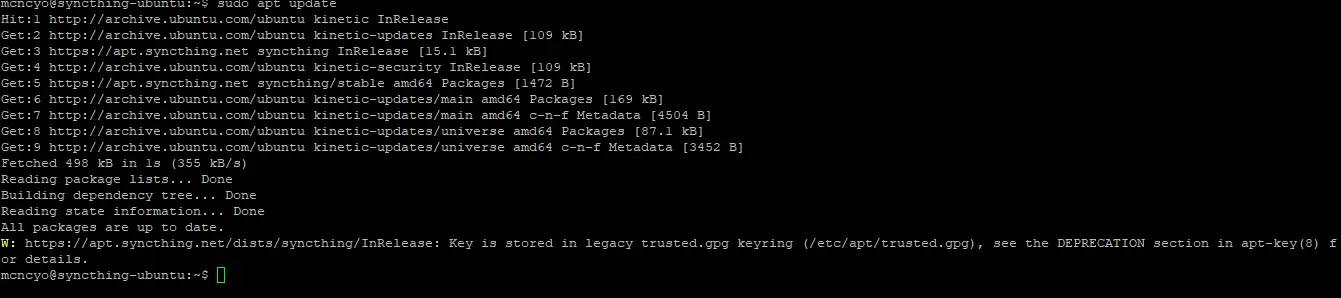
We need to update the download package information from synching and your other sources on your computer. We do that by running the sudo apt update.
sudo apt update
Step 5 – Installing Syncthing
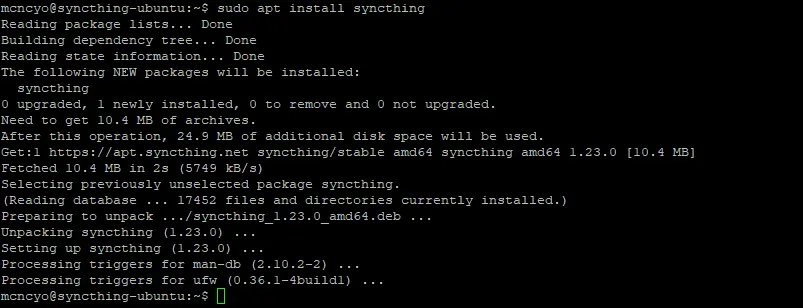
We finally get to install Syncthing on Linux. We just need to type the command below and press enter.
sudo apt install syncthing
Step 6 – Enable the Syncthing service
Now we got syncthing installed; we need to enable syncthing to start at boot using the systemctl command. But make sure you replace the username with your user name in the following order. But please don’t use root. It is a security issue.
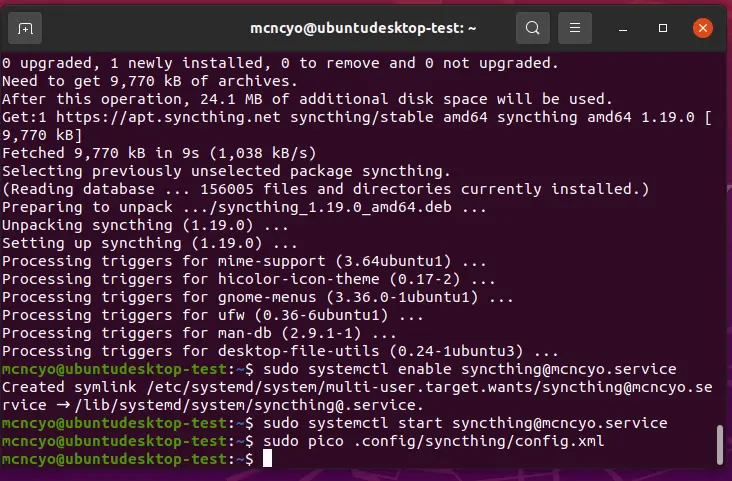
sudo systemctl enable [email protected]

Step 7 – Start syncthing service up
Let’s start syncthing up for the first time by running this command below. Make sure you change the user name to your user name.
sudo systemctl start [email protected]
(Optional) setting syncthing so you can remotely connect to it
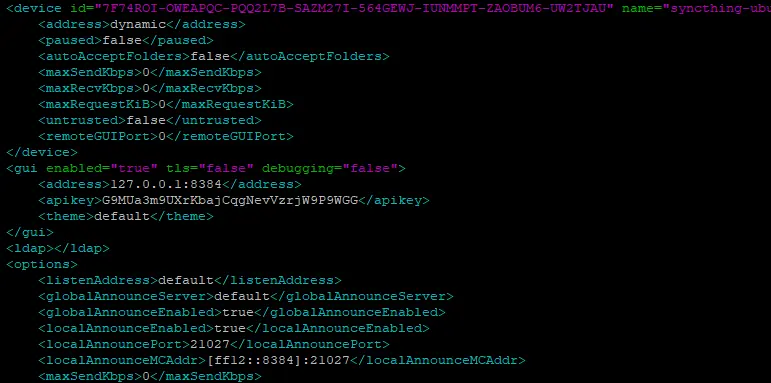
If you want to configure syncthing from another computer, you must change one line in the config file to allow access. It would be best if you had an editor. In this example, I am going to be using pico.
sudo pico .config/syncthing/config.xml
Need to find 127.0.0.1:8384 It is under the . We need to change it from 127.0.0.1:8384 to 0.0.0.0:8384
Then we need to restart the syncthing service by running this command. Make sure you change the username to your username again
sudo systemctl restart [email protected]
Comments