To Install Syncthing on Windows there are two ways of installing it. One is with synctrazor which I will walkthrough below. It also comes with the benefit of having a GUI(Graphical User Interface).
1. Download Synctrazor
The first step is to download Synctrazor. You can download it from the following link.
https://github.com/canton7/SyncTrayzor/#installation`
When you go to the page you need to click on Download SyncTrayzorSetup-x64.exe. This will download the executable file.
When you go to that page you need to click on Download SyncTrayzorSetup-x64.exe.
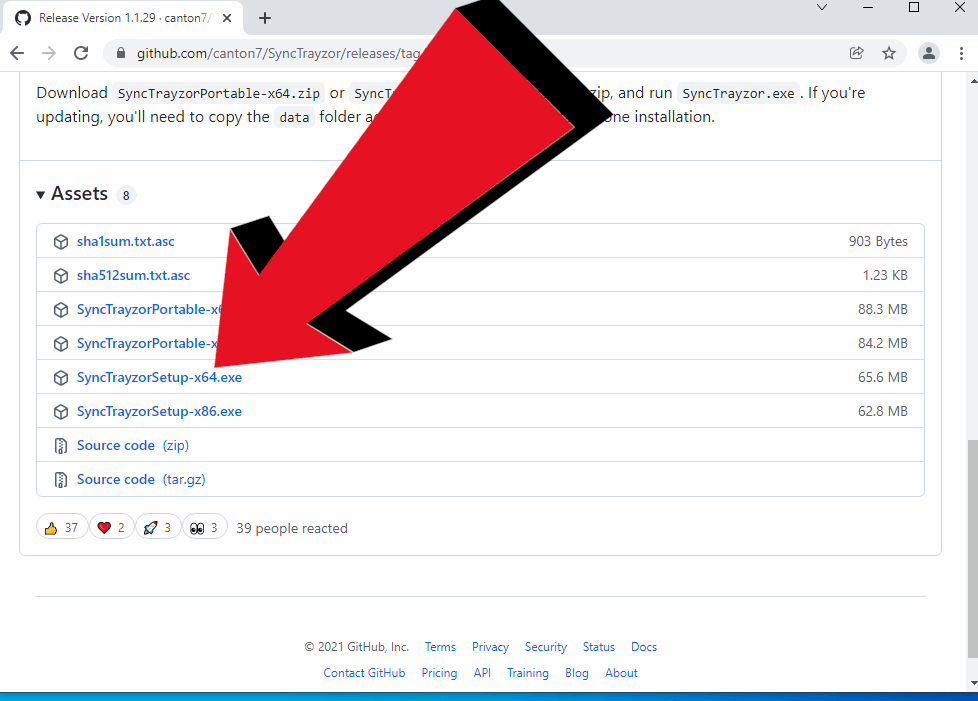
After you click on that link it will take you to this page and then you will click on SyncTrayzorSetup-x64.exe or SyncTrayzorSetup-x86.exe. Most people will want to use the x64 version if they have a computer with windows7,8, 10, or 11.
2. Install Synctrazor
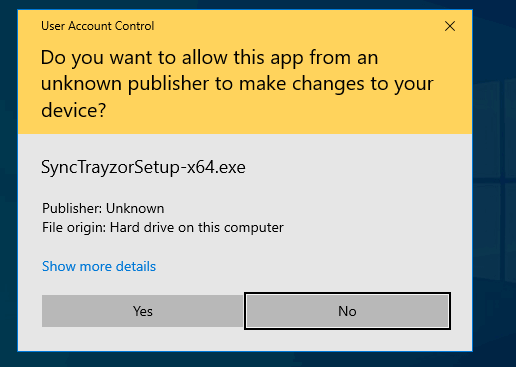
Just click on the executable file and it will install Synctrazor. It will pop up a warning message. This is because synctrayzorsetup isn’t signed by a known publisher of Microsoft. The software is fine to use but it is not a trusted source. So we need to click on the Yes button.
The rest is just pressing next to you click on finish. If you want to watch me do it you can watch the video above.
Comments